
Sometimes I may need to share some of my logic\algorithm with other developers. In this case I might need to build a library.
That library might be used in the customer's browser, or might be referenced by other front-end projects, may be based on Angular or React.
So how can we build a package with TypeScript that benefits from strong type while can be installed\reference\used by others?
Full example after all those steps that you can download directly: Download zip
Manual steps
After creating a new folder, do some initialization commands:
$ git init
$ npm init
Strongly suggest pushing that repo to GitHub and assign a license first.
$ git add . && git commit -m "Init project" && git remote add origin https://github.com/your-name && git push -u origin main
Create a .gitignore file to ignore those dependencies:
node_modules
dist
Then we gonna install some packages for building the project.
$ npm install --save-dev terser-webpack-plugin ts-loader typescript webpack webpack-cli
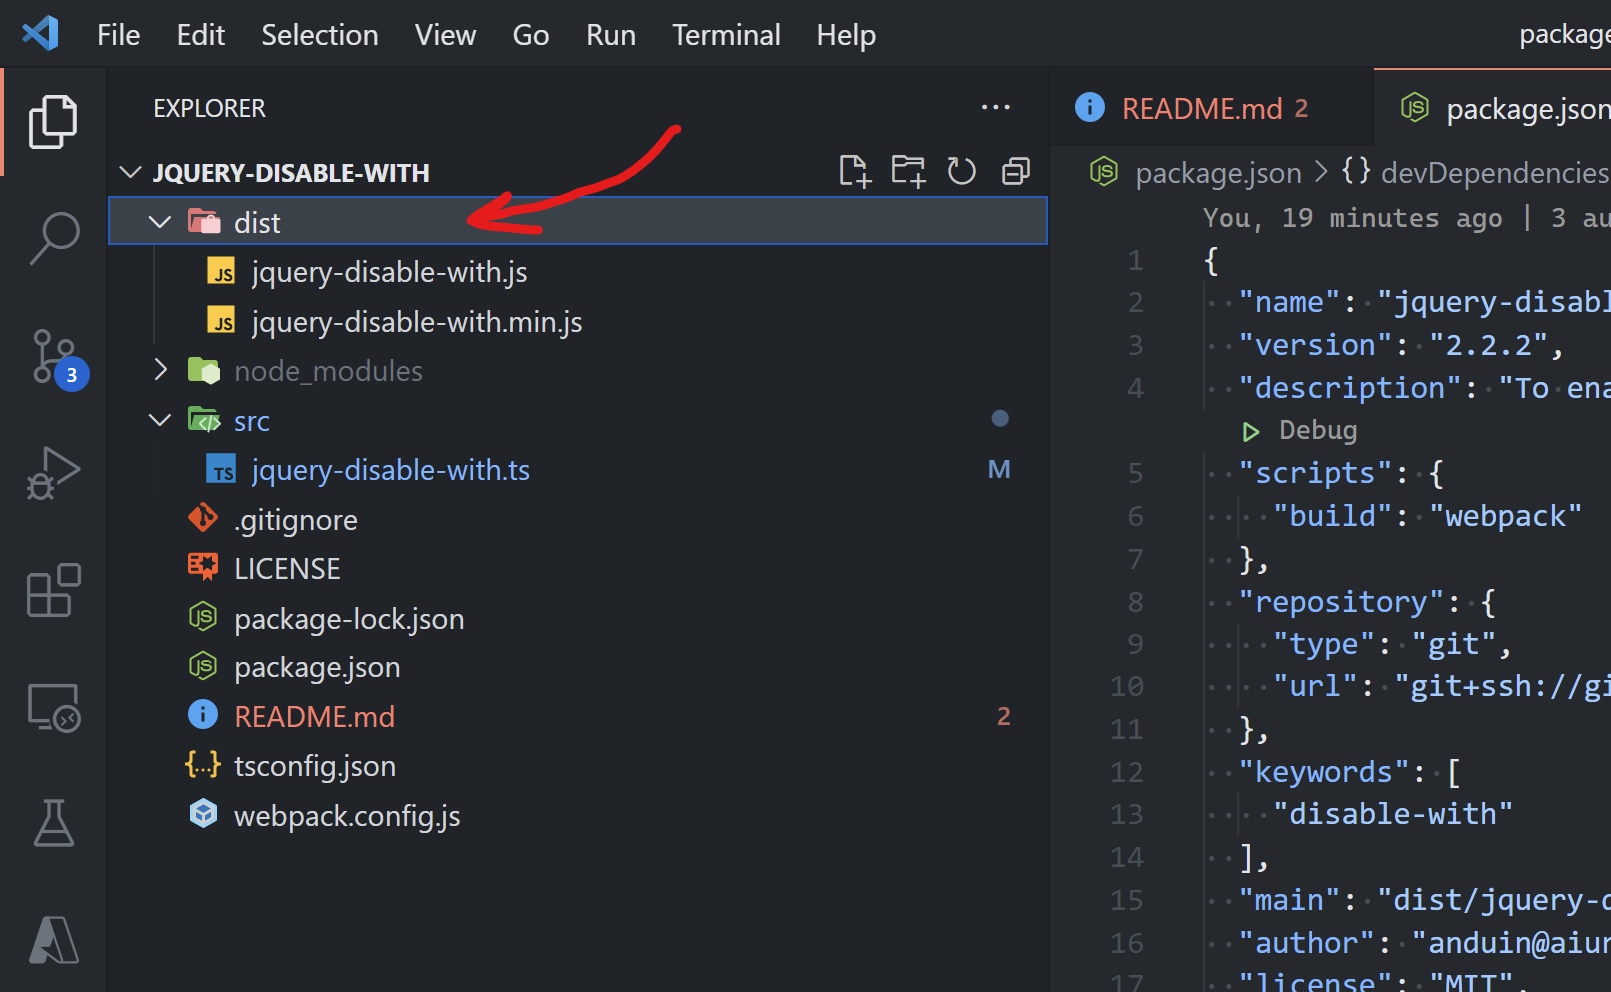
After installing, you package.json file might be looking like this:
{
  "name": "my-project", // name your project.
  "version": "1.0.0",
  "description": "my project",
  "scripts": {
    "build": "webpack"
  },
  "repository": {
    "type": "git",
    "url": "git+ssh://git@github.com/myname/myrepo"
  },
  "keywords": [
    "disable-with"
  ],
  "author": "anduin@aiursoft.com",
  "license": "MIT",
  "homepage": "https://github.com/Anduin2017/jquery-disable-with#readme",
  "devDependencies": {
    "terser-webpack-plugin": "^5.1.2",
    "ts-loader": "^9.2.2",
    "typescript": "^4.3.2",
    "webpack": "^5.38.0",
    "webpack-cli": "^4.7.0"
  }
}
Since we are building a TypeScript project, create a new file name: tsconfig.json
{
    "compileOnSave": true,
    "compilerOptions": {
      "outDir": "./dist/out-tsc",
      "sourceMap": true,
      "declaration": false,
      "moduleResolution": "node",
      "emitDecoratorMetadata": true,
      "experimentalDecorators": true,
      "target": "es5",
      "typeRoots": [
        "node_modules/@types"
      ],
      "lib": [
        "es2016",
        "dom"
      ],
      "noUnusedLocals": true,
      "noUnusedParameters": true
    }
  }
Now your repo might be looking like this:

Now, create a new folder name src. And you can put your entry in it.
Put a new file with .ts extension under the src folder.

Now you can start building your new library. Of course, you can add multiple typescript files and import them each other.
Sample class:
class DisableWith {
    constructor(property: string) {
        this.initDisableWith(property);
    }

    initDisableWith(property: string): void {
        document.querySelectorAll(`*[${property}]`).forEach(element => {
            let value = element.getAttribute(property);
            alert(value);
        });
    }
}

export default DisableWith;
Do export your class as default!
After that, creating a new file named: webpack.config.js in the root folder of the repo.
Modify the content to make it buildable.
Only in production mode, will it call terser plugin to optimize the package. And in normal mode shall it load your ts file from the entry and package it with umd config.
const path = require('path');
const TerserPlugin = require('terser-webpack-plugin');
const production = process.env.NODE_ENV === 'production' || false;

module.exports = {
    entry: ['./src/jquery-disable-with.ts'],  //  <- Modify it to your entry name.
    module: {
        rules: [
            {
                test: /\.ts?$/,
                use: 'ts-loader',
                exclude: /node_modules/,
            },
        ],
    },
    resolve: {
        extensions: ['.ts', '.js']
    },
    mode: 'production',
    output: {
        filename: production ? 'jquery-disable-with.min.js' : 'jquery-disable-with.js',
        path: path.resolve(__dirname, 'dist'),
        globalObject: 'this',
        library: 'DisableWith',
        libraryExport: 'default',
        libraryTarget: 'umd'
    },
    optimization: {
        minimize: production,
        minimizer: [
            new TerserPlugin({})
        ]
    }
};
Finally, don't forget to modify your package.json file to specify the entry.
Add this:
"main": "dist/jquery-disable-with.js"

Now you can try to build your project with command:
$ npm run build
$ npm run build --production
Hopefully, you can see there gonna be new generated file located in your dist folder.
You can now try to build a sample here. Just reference your file in your dist folder.

Finally, we gonna publish this project to npm.
AzureAD+AnduinXue@Aiursoft-SS MINGW64 ~/source/repos/Anduin2017/jquery-disable-with (master)
$ npm login
npm notice Log in on https://registry.npmjs.org/
Username: anduin2017
Password: ******************************
Email: (this IS public) anduin@aiursoft.com
Enter one-time password from your authenticator app: 233333
Logged in as anduin2017 on https://registry.npmjs.org/.

$ npm publish
npm notice
npm notice package: jquery-disable-with@2.2.3
npm notice === Tarball Contents ===
npm notice 1.1kB LICENSE
npm notice 1.6kB README.md
npm notice 126B  build.sh
npm notice 2.7kB dist/jquery-disable-with.js
npm notice 1.0kB dist/jquery-disable-with.min.js
npm notice 396B  example.html
npm notice 709B  package.json
npm notice 1.9kB src/jquery-disable-with.ts
npm notice 464B  tsconfig.json
npm notice 887B  webpack.config.js
npm notice === Tarball Details ===
npm notice name:          jquery-disable-with
npm notice version:       2.2.3
npm notice filename:      jquery-disable-with-2.2.3.tgz
npm notice package size:  4.0 kB
npm notice unpacked size: 11.0 kB
npm notice shasum:        asdfasdfasdfasdfasdfasdfadfasf
npm notice integrity:     sha512-asdfasdfasdfasdf==
npm notice total files:   10
And your customers can install your project via:
$ npm install --save your-package

<script src="node_modules/jquery-disable-with/dist/jquery-disable-with.js"></script>
Or he can import it after installing:
import DisableWith from 'jquery-disable-with';
new DisableWith('data-disable-with');
这篇文章详细介绍了如何使用TypeScript构建一个兼容浏览器和Node.js的库,并通过具体代码和配置步骤为开发者提供了实用的参考。整体内容结构清晰,逻辑连贯,尤其在工具配置(如Webpack、TypeScript)和模块打包策略(UMD)的说明上展现了对技术细节的深入理解。以下是针对内容的客观分析和改进建议:
核心优点与闪光点
实践导向的步骤设计
从项目初始化到打包发布,每一步均提供了具体的命令和代码示例(如
tsconfig.json、webpack.config.js的配置),便于读者直接复制操作。特别是npm run build --production的环境区分逻辑,体现了对生产环境优化的关注。UMD模块格式的选型
通过Webpack的
libraryTarget: 'umd'配置,确保库可兼容CommonJS、AMD和全局变量调用场景,这对需要跨环境复用的库来说是非常关键的实践,值得肯定。资源链接的实用性
提供GitHub示例仓库和下载链接,使读者能快速验证流程,显著提升了教程的可操作性。
可改进之处
Webpack环境变量的逻辑冗余
在
webpack.config.js中,mode: 'production'默认启用了Webpack的生产环境优化(如压缩),但作者又通过process.env.NODE_ENV手动控制Terser插件的触发。这种双重机制可能导致混淆。建议统一使用mode字段(如设置mode: production时自动开启优化),或明确区分开发/生产构建命令(如webpack --mode production)。类型声明文件的缺失
tsconfig.json中declaration: false的设置意味着不会生成.d.ts类型声明文件,这会导致库的使用者无法直接在TypeScript项目中获得类型提示。建议:declaration: true;package.json中添加types字段指向生成的.d.ts文件路径(如dist/jquery-disable-with.d.ts)。示例代码的实用性不足
DisableWith类中的alert(value)仅用于演示,但实际场景中用户可能需要更明确的功能(如修改按钮状态)。建议替换为更贴近实际需求的逻辑,例如:Node.js环境兼容性的潜在问题
tsconfig.json中lib: ["es2016", "dom"]主要针对浏览器环境。若目标包括Node.js,需补充lib: ["es2016", "dom", "esnext.node"](需确认类型定义是否可用),或通过typeRoots引入@types/node。版本号的不一致
package.json初始版本为1.0.0,但示例发布命令中版本号为2.2.3,易造成混淆。建议保持一致性,并在发布前明确语义化版本的更新规则。延伸建议
可补充单元测试(如使用Jest)和文档生成(如TypeDoc),以增强库的可维护性。
若库包含多个功能模块,可扩展Webpack配置为多入口构建,生成多个输出文件。
建议集成CI/CD(如GitHub Actions)实现自动化测试与发布,减少手动操作风险。
总体而言,文章为开发者提供了构建跨环境TypeScript库的完整指南,技术细节扎实。通过优化类型声明、环境变量逻辑和示例实用性,可进一步提升教程的严谨性与实用性。期待作者未来在模块化设计和生态兼容性方面展开更多探讨。
根据这篇文章的内容,我们可以看到详细的步骤来创建、打包和发布一个npm包。对于刚入门的开发者来说,这是一份很有价值的指南。
首先,文章从初始化项目开始,指导如何使用
npm init来创建一个新的项目,并设置必要的配置信息。接着,介绍了如何安装Webpack及其相关插件,以确保项目的构建过程顺利进行。通过添加TS支持和配置文件,进一步完善了项目的开发环境。在打包部分,详细解释了如何配置Webpack以生成不同版本的生产包,这使得用户可以根据需要选择合适的资源文件。最后,文章演示了如何将项目发布到npm registry,并提供了安装和使用包的具体方法,极大地方便了其他开发者集成该库。
对于这篇文章,有几个点值得特别关注:
总的来说,这篇文章为开发者提供了一条清晰的路径,从零到发布一个npm包。通过不断实践和优化配置,相信每位开发者都能成功完成自己的项目发布。
I just read your blog post on building a package that can be used in both browser and Node.js environments with TypeScript. The post provides a step-by-step guide on how to create a TypeScript project, configure the necessary dependencies and settings, and build the package using Webpack. The core idea of the post is to help developers create a library that can be easily imported and used in various environments, which is a valuable contribution to the community.
One of the major highlights of the post is the detailed explanation of each step, accompanied by code snippets and screenshots. This makes it easier for readers to follow along and understand the process. Additionally, the post covers various aspects like creating a tsconfig.json file, setting up Webpack configuration, and publishing the package to npm, which provides a comprehensive guide for developers.
However, there are some areas where the post could be improved. Firstly, the blog post contains a few typos and grammatical errors, such as "tall" instead of "install" in the first line, which might cause confusion among readers. It would be helpful to proofread the content and correct these errors for better readability.
Secondly, the post assumes that the reader is familiar with certain concepts like TypeScript, Webpack, and npm. It would be helpful to provide a brief introduction to these concepts and their significance in the context of the post. This would make the content more accessible to readers who may not have prior knowledge of these technologies.
Lastly, the post could benefit from a conclusion that summarizes the key takeaways and provides some suggestions for further exploration. This would help readers to consolidate their understanding and encourage them to apply the knowledge in their own projects.
Overall, the blog post is informative and provides valuable insights on building a package that can be used in both browser and Node.js environments with TypeScript. With some minor improvements in content presentation and organization, the post can become an even more useful resource for developers. Keep up the good work!
666 npm cli可以支持直接从git repo上下载npm包(https://docs.npmjs.com/cli/v7/commands/npm-install),使用 npm install <git-host>:<git-user>/<repo-name> 下载依赖。 考虑到npm发包到regsitry时经常遇到重名,还需要想一下名字😂,这也是个不错的方式。
666
666